
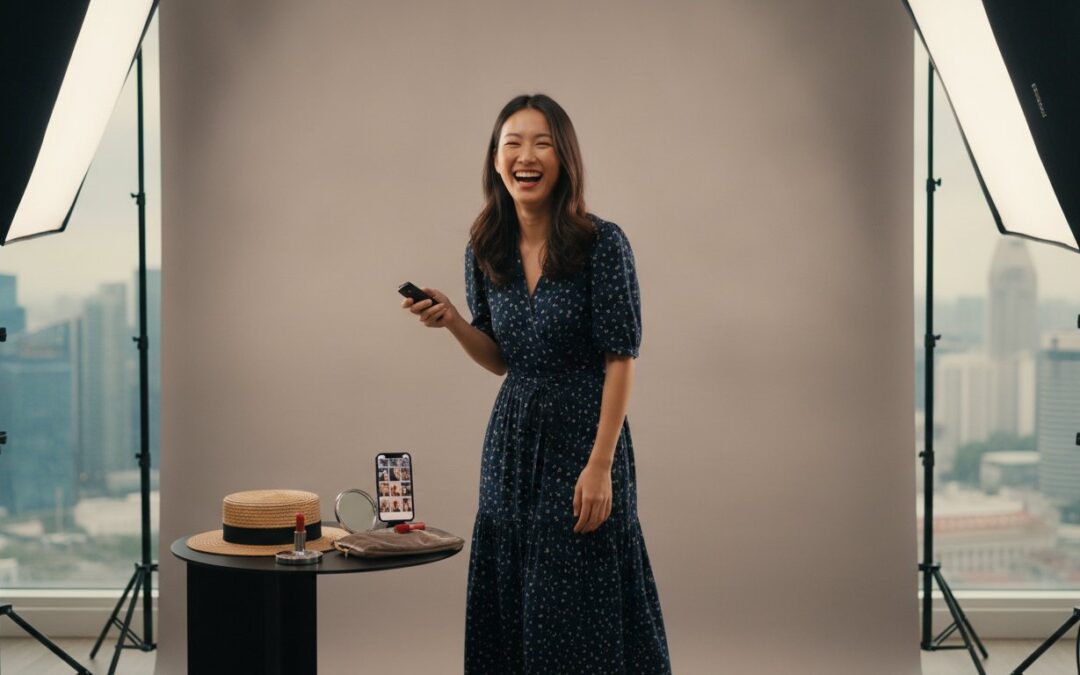
You’ve finally booked your session at The Centrepoint, but five minutes into the timer, you’re staring at the lens with no idea what to do with your hands. Mastering self photo studio poses shouldn’t feel like a chore. Many people find themselves feeling stiff or worrying about a stray hair catching the high-definition light. It’s frustrating to leave a session feeling like you missed your best angles because you weren’t quite prepared for the fast pace of a private studio environment.
It’s true that the secret to a great portrait isn’t just the professional lighting; it’s the preparation you do before you even step inside. You deserve a session that feels smooth, creative, and entirely stress-free. This guide will show you exactly what to pack and how to pose to ensure professional results every time. We’ll walk through five categories of essentials, including grooming must-haves and styling tips, to help you maximize your 15 to 20 minute session and walk away with photos you’re proud to share.
Key Takeaways
- Understand how to use a private studio and remote shutter to capture candid, professional portraits without the awkwardness of a photographer.
- Master dynamic self photo studio poses by planning quick wardrobe changes and using versatile accessories like hats or scarves.
- Build a “self-shoot survival kit” with essential grooming items to keep your hair and skin camera-ready under bright studio lighting.
- Learn how to incorporate custom props, such as graduation gowns or sentimental maternity items, to give your photos a unique and personal touch.
- Streamline your session logistics by arriving early and preparing a digital inspiration board to ensure every minute of your booking is productive.
Understanding the Self-Photo Studio Experience
A self-photo studio provides a professional environment where you act as both the model and the photographer. You gain access to high-end DSLR cameras and studio-grade lighting without the presence of a stranger behind the lens. This setup empowers you to control the shutter with a small, wireless remote. It represents a sophisticated evolution in the history of the photo booth, moving away from cramped automated machines toward a spacious, artistic studio. Because you hold the remote, you can capture candid expressions and intimate moments that often feel forced in traditional photography sessions.
The Private Studio Advantage
Camera shyness is a common barrier to achieving great portraits. At PhotoNow, sessions take place in a completely private room, removing the pressure of an audience. This isolation allows you to experiment with various self photo studio poses without feeling judged or stiff. The professional lighting is expertly pre-set to ensure high-quality results that far exceed what a mobile phone can capture. One of the most valuable features is the instant feedback loop. You can see your photos on a high-definition monitor immediately after each click. This allows you to adjust your angles, hair, or expression on the fly, ensuring your best self is always on display.
Why Preparation is the Key to Great Photos
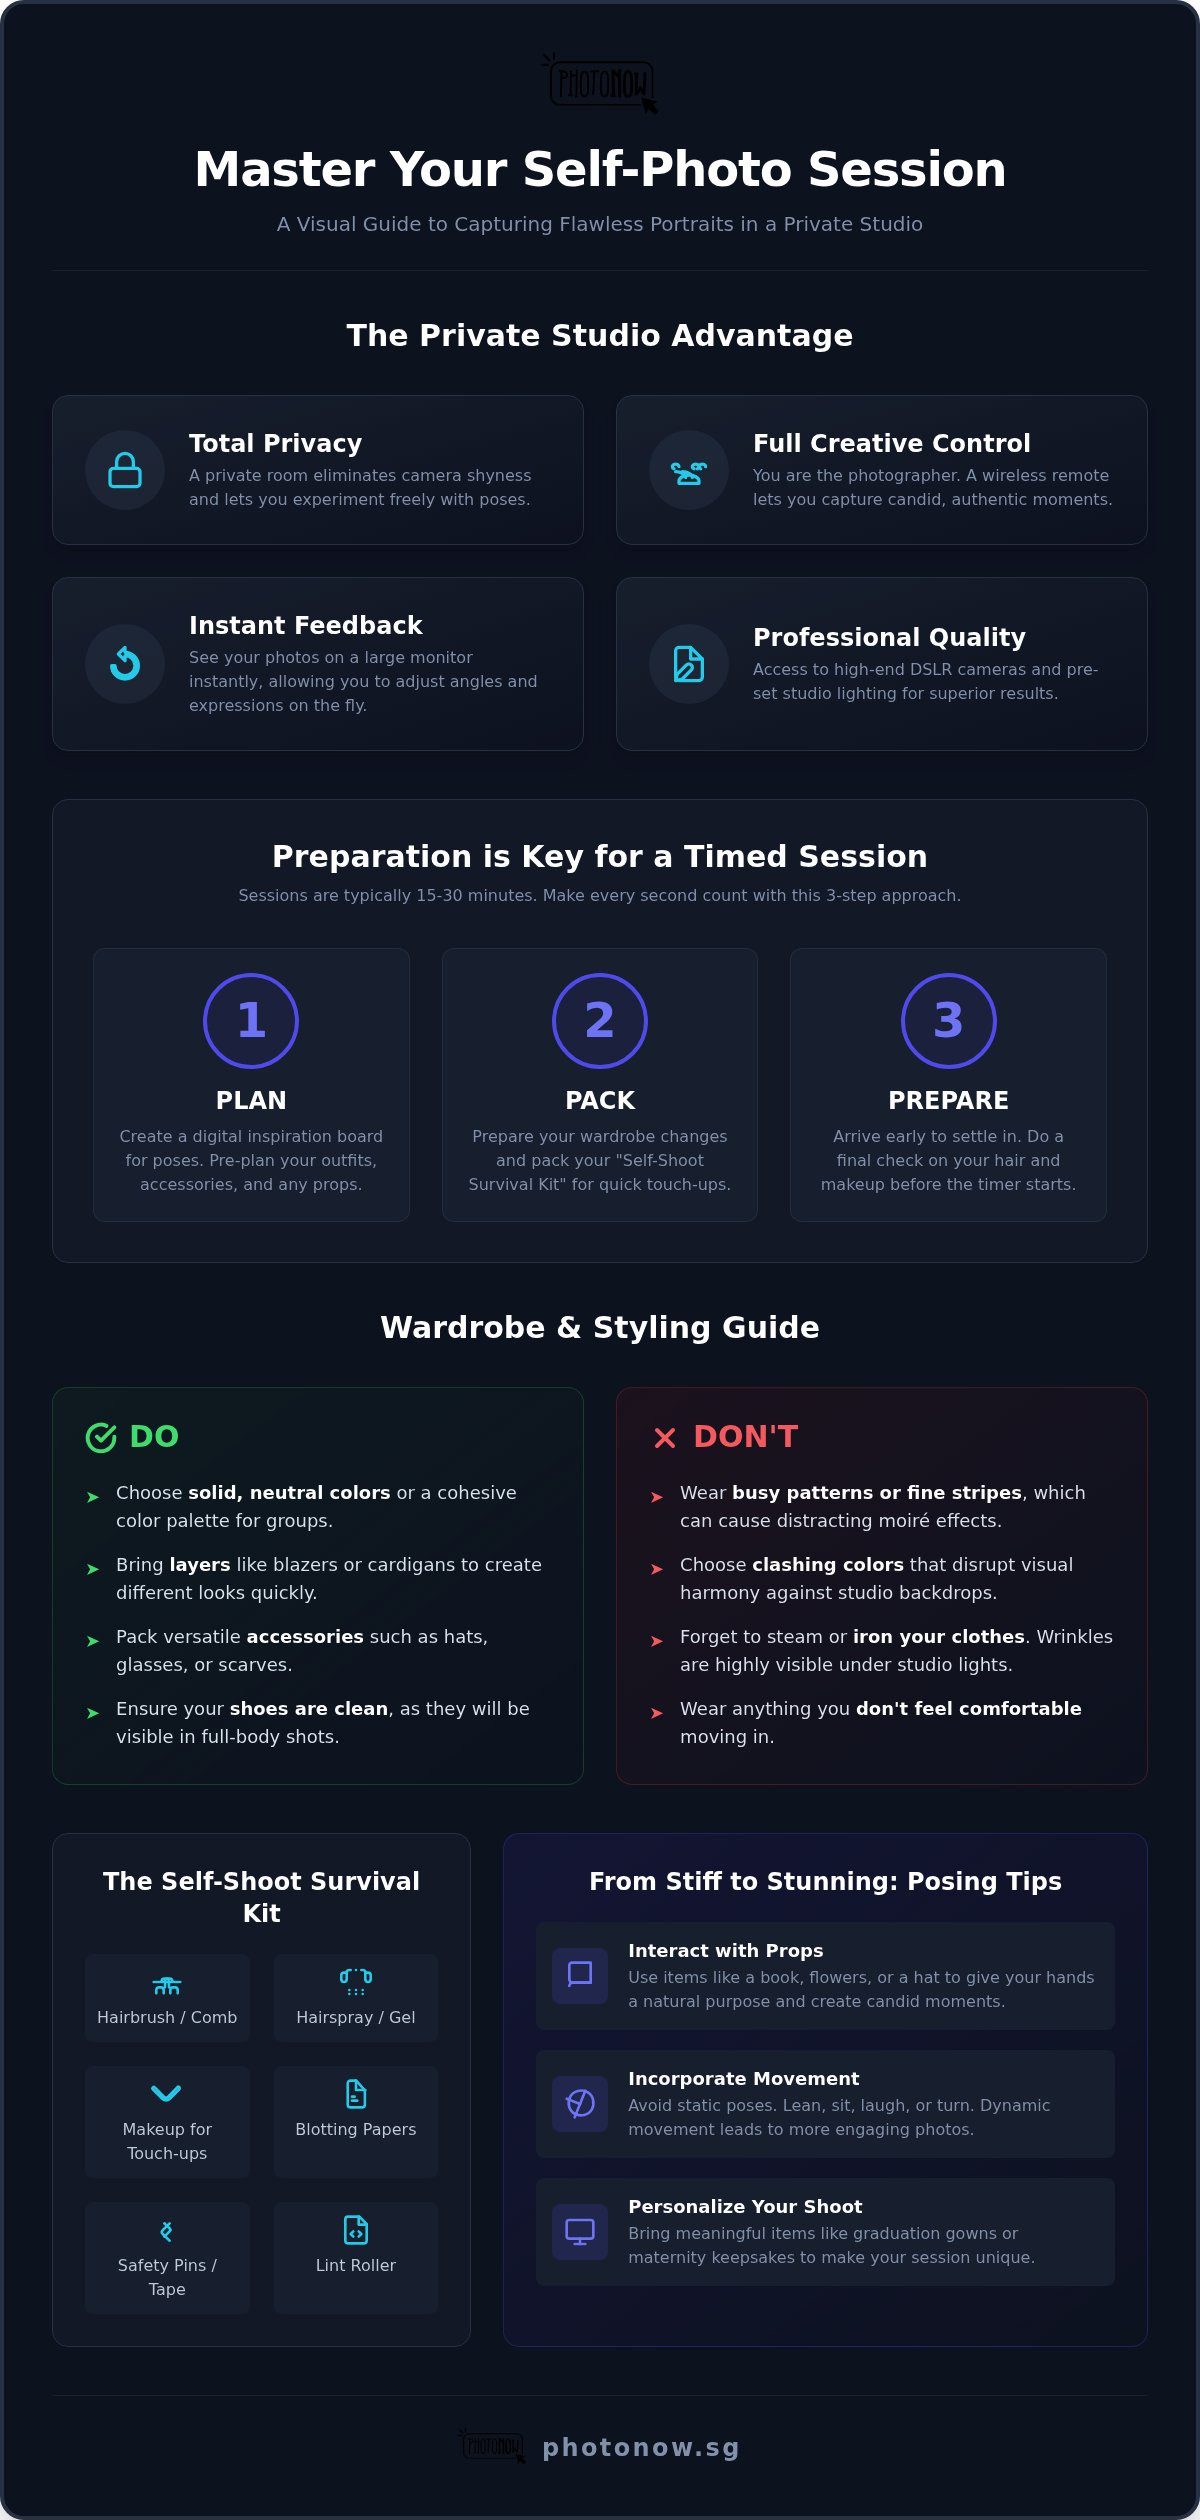
Efficiency is your best friend during a timed session. Most bookings, such as our Basic Self-Photo Package, typically range from 15 to 30 minutes. While this provides ample time for a focused shoot, every minute counts. Every second you spend adjusting a strap or searching for a prop is a second you aren’t posing. Decision fatigue can set in quickly if you haven’t pre-planned your outfits or accessories. Preparation also helps you manage external factors like Singapore’s tropical climate. Arriving with a clear plan ensures your grooming remains crisp from the Orchard Road MRT to the studio. When you have already visualized your self photo studio poses, you spend less time overthinking and more time capturing genuine memories. This proactive approach turns a simple photo session into a streamlined, creative experience.
Mastering Self Photo Studio Poses: Wardrobe and Movement
Your choice of attire acts as the visual foundation for every frame. While the private setting offers complete freedom, your clothing dictates the range and rhythm of your movement. We recommend packing at least two outfit options if your package allows for a quick change. This variety ensures your gallery feels diverse and professional. Beyond the main garments, bring a selection of accessories like hats, glasses, or scarves. These small additions allow you to transform your aesthetic instantly without stepping away from the camera. Mastering self photo studio poses starts with understanding how your body interacts with your clothing before the timer begins.
Color Coordination and Textures
Visual harmony is essential when shooting against studio backdrops. You should generally avoid busy patterns or fine stripes. These can cause moiré effects, which are distracting wavy lines created by digital camera sensors. Solid neutral colors remain a timeless choice, especially for family portrait sessions where coordination is key. Instead of identical outfits, aim for a cohesive color palette that complements the studio’s aesthetic. If you want variety without a full wardrobe change, bring layers like blazers, cardigans, or denim jackets. These pieces allow you to create different silhouettes and moods with minimal effort. If you aren’t sure where to start, you can always check out our Hanbok rental options for a classic, pre-styled look.
Footwear and Posing Props
Details matter when the camera captures a full-body silhouette. Ensure your shoes are clean, as self-photo studios often feature wide-angle shots where footwear is clearly visible. You might choose heels to add height and posture or stylish sneakers for a more relaxed, modern vibe. If you find yourself feeling stiff, using simple props can provide a necessary distraction for your hands. Items like a favorite book, a vintage camera, or even a bouquet of flowers give you something to interact with. These objects naturally guide your self photo studio poses, leading to more candid and authentic expressions. When you feel comfortable in your styling, the entire process becomes a seamless and enjoyable experience. If you’re ready to test your look, you can book your session today and start practicing your best angles.
The Self-Shoot Survival Kit: Grooming and Touch-ups
While your wardrobe sets the visual foundation, your grooming ensures the final image remains professional. High-definition DSLR cameras are remarkably detailed; this means a stray flyaway or a bit of T-zone shine can quickly become a distraction. Carrying a small survival kit allows you to maintain total control over your appearance throughout the session. A handheld mirror is perhaps the most vital tool in this kit. It lets you perform quick checks between shutter clicks without having to step away from your position. This ensures your self photo studio poses remain consistent while you refine your look.
This focus on presenting a curated version of ourselves is a central part of the history and cultural significance of self-portraiture. We use these studio sessions to create personal archives, making the monitor a modern tool for self-exploration. To keep that image sharp, oil-blotting sheets are non-negotiable. Studio lights produce heat, and even a short walk through Orchard Road can leave skin looking overly dewy. A quick dab before you start helps manage shine under the intense, professional lighting.
Hair and Makeup Essentials
Humidity is often the enemy of a crisp hairstyle. A small comb or brush, paired with a travel-sized hairspray, will help you tame any frizz before you begin. If you plan on varying your self photo studio poses, bring extra hair ties or clips. These allow you to switch from a relaxed, hair-down look to a more structured updo in seconds. For those booking corporate headshots, a quick beard comb or a touch of lip balm can make a significant difference in projecting professional confidence. A quick color refresh with lipstick ensures your smile looks vibrant in every frame.
Anti-Shine and Lighting Prep
Professional lighting is designed to be flattering, but it can highlight skin oils that aren’t usually visible. Translucent powder is a must-bring to ensure a matte finish that lasts the entire 15 to 20 minutes. If you’ve had a long day at work before your session, eye drops can help clear up any redness or dryness. PhotoNow understands the importance of these final adjustments. We provide a dedicated vanity area at our studio where you can settle in and perform these essential checks before your timer actually starts.
Personalizing Your Shoot with Custom Props
While many studios provide a standard selection of accessories, bringing your own items ensures your gallery reflects your unique personality. Personal props act as anchors for your narrative, helping you tell a specific story through your self photo studio poses. Whether you are celebrating a career milestone or a new addition to the family, these objects provide a sense of purpose to your movements and expressions. You might use a personalized sign or a tablet with a digital message to announce a specific date or share a quote. These digital elements are particularly effective for social media announcements, as they allow for crisp, legible text that complements the professional lighting. If you plan to bring themed items like balloons or confetti, it is always a good idea to check the studio’s specific policy on cleanup before your session starts.
Meaningful Items for Milestones
Specific life events deserve specialized items that highlight your achievement. If you are booking a graduation photoshoot, remember to pack your mortarboard, medals, and any stoles. These items complete the academic look and offer various ways to interact with the camera, such as holding your certificate or tossing your cap. For expectant parents, maternity shoots become much more intimate when you include ultrasound photos or a pair of baby shoes. Even family heirlooms or travel mementos can add a layer of depth and legacy to a portrait. It is essential to ensure every prop is photo-ready before you arrive. This means removing price tags, wiping away dust, and steaming any fabrics to avoid unnecessary distractions in the final high-definition prints.
Pet-Friendly Shoots and Accessories
Including a furry friend adds a joyful and authentic element to your session. To get the best results, pack a bag of high-value treats to grab your pet’s attention toward the camera lens. This helps you maintain your self photo studio poses while your pet looks directly at the shutter. A lint roller is an absolute necessity in your survival kit, especially if you are wearing dark clothing that easily shows fur. You might also consider a stylish bandana or a clean leash that matches your group’s color palette. These small details create a cohesive visual style that feels intentional and professional. If you are ready to capture these special moments with your loved ones, you can book your personalized session at PhotoNow today and start planning your perfect frames.
Pre-Shoot Logistics: Final Checklist for PhotoNow
The final step in your journey involves the logistics of the day itself. While you have already curated your wardrobe and grooming kit, the way you manage your time at the studio determines how relaxed you feel during the actual shoot. We recommend arriving 10 to 15 minutes before your scheduled appointment. This buffer allows you to settle in, verify your booking details, and perform a final appearance check in our vanity area. It is also the perfect time to open your digital inspiration board. Having a curated selection of self photo studio poses ready on your phone ensures you don’t waste precious minutes of your session wondering how to stand or where to look. This level of organization transforms a good session into a great one.
Timing and Digital Storage
Your session time is dedicated exclusively to shooting; therefore, you should complete any major wardrobe changes or makeup applications before your timer starts. Efficiency is paramount when you have 15 to 20 minutes to capture your best angles. Before you arrive, ensure your smartphone has enough available storage space. Many studios, including ours, provide digital copies via a QR code at the end of the session. If you plan on taking a high volume of shots, you might want to ask our staff about all-digital add-ons to ensure you receive every frame. For more detailed advice on maximizing your time, you can explore our guide to the self-photo studio experience in Singapore.
Booking Your Session at PhotoNow Orchard
Our studio is conveniently located at The Centrepoint on Orchard Road, making it an ideal destination for a productive day out. The central location means you are just steps away from professional grooming services if you need a quick blowout before your shoot; it also places you near excellent dining options for a post-session celebration. If you prefer a themed experience without the hassle of packing extra outfits, you can explore our Hanbok rental options. These traditional Korean costumes provide an instant, high-quality aesthetic that looks stunning under professional studio lights. Whether you are practicing your self photo studio poses for a solo portrait or a group shot, we provide the tools and the privacy you need to succeed. Ready to create lasting memories in a stress-free environment? Book your self-photo session at PhotoNow today and experience the difference of a professional, private studio.
Step Into the Spotlight with Confidence
A successful photo session is built on more than just high-end equipment. It’s the result of thoughtful preparation, from packing your anti-shine essentials to visualizing your self photo studio poses before the timer starts. By arriving early at our studio and bringing personalized props, you ensure every minute of your booking is dedicated to capturing authentic, professional quality images. You don’t need to be a professional model to walk away with a gallery of portraits you’ll love for years to come.
At PhotoNow, we provide the private studio experience and professional DSLR lighting you need to look your best without the pressure of a photographer. Our convenient location at The Centrepoint on Orchard Road makes it easy to fit a creative session into your busy schedule. Whether you’re celebrating a graduation, a new arrival, or a corporate milestone, we are here to make the process seamless and enjoyable. Book Your Private Self-Photo Session at PhotoNow Orchard today. We can’t wait to help you capture your next great moment.
Frequently Asked Questions
What should I wear to a self-photo studio for the best results?
Opt for solid, neutral colors to ensure a timeless look that doesn’t clash with the studio backdrops. Avoiding busy patterns or fine stripes is essential as these can create distracting visual effects on digital sensors. You might choose to wear layers, such as a structured blazer or a soft cardigan, to quickly vary your silhouette. These choices provide a polished foundation for your self photo studio poses and allow your personality to remain the focal point.
Can I bring my own props to the studio?
You are highly encouraged to bring personal items that reflect your unique story or celebrate a specific milestone. Whether it is a graduation certificate, a bouquet of flowers, or a sentimental family heirloom, custom props add a layer of authenticity to your gallery. Personal items help you feel more comfortable and provide natural ways to interact with the camera. Just ensure your items are clean and ready for high-definition close-ups before your session begins.
How many people can I bring to a self-photo session?
The number of participants depends on the specific package you select during the booking process. While our Basic Self-Photo session is ideal for individuals or couples, our Family Portrait Package is designed to accommodate larger groups comfortably. It is always a good idea to check the maximum capacity for your chosen room to ensure everyone has enough space to move. This allows for a relaxed environment where your group can experiment with various creative arrangements together.
Do I need to do my own makeup before arriving?
You should arrive with your primary makeup already applied to maximize your actual shooting time. While our studio provides professional lighting that is very flattering, doing your base makeup beforehand ensures you are ready to start as soon as the timer begins. We provide a dedicated vanity area at our Orchard Road location where you can perform final touch-ups or apply a fresh layer of lipstick. This ensures you look crisp and polished for every frame.
What happens if I forget to bring a hairbrush or makeup touch-ups?
Our studio features a well-equipped vanity area designed to handle minor grooming emergencies. If you forget your own kit, you can use the provided tools to tame flyaways or check your reflection before the session starts. This space is perfect for ensuring your hair and makeup are camera-ready after a commute through the city. Having these facilities available helps lower the stress of preparation, allowing you to focus entirely on your creative self photo studio poses.
Is there a place to change my clothes at the studio?
We provide private spaces where you can quickly switch between different outfit options. If your package allows for wardrobe changes, we recommend choosing pieces that are easy to swap to keep the momentum of your session high. Being able to change on-site means you can arrive in comfortable attire and transform into your photo-ready look just before your appointment. This convenience is part of our commitment to providing a seamless and professional studio experience for every client.
Should I bring my own camera or memory card?
You don’t need to bring any photographic equipment as we provide a professional DSLR camera and a high-end lighting setup. The studio is fully calibrated to ensure optimal results without any technical effort on your part. After your session, you will receive your digital files or physical prints according to your chosen package. This no-fuss approach allows you to enjoy the creative process of posing without worrying about memory cards, batteries, or complex camera settings.
How long before my appointment should I arrive?
Arriving 10 to 15 minutes before your scheduled start time is ideal for a smooth experience. This window gives you enough time to check in, stow your belongings, and use the vanity area for any final grooming adjustments. Starting your session on time ensures you get the full duration of your booking for actual photography. Being punctual helps maintain a relaxed pace, ensuring you don’t feel rushed while exploring different angles and expressions during your shoot.
Recent Comments