
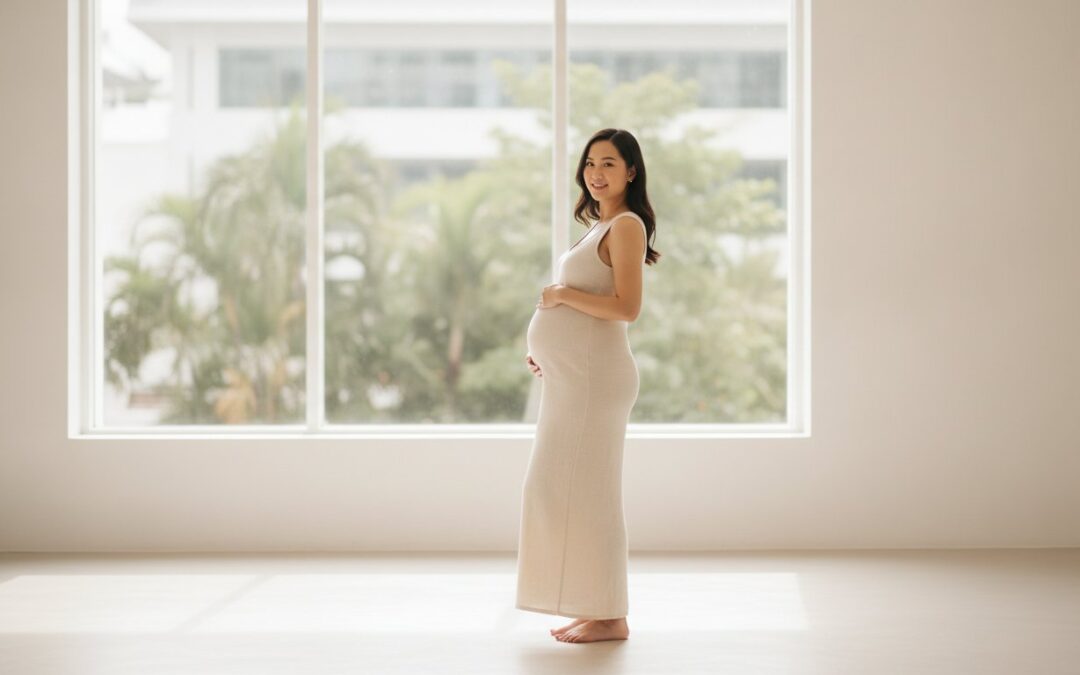
What if the secret to a stunning maternity photo isn’t about being a professional model, but about having the space to be yourself without an audience? Most expectant mothers in Singapore feel a mix of excitement and anxiety when scheduling a session. You might worry about looking unflattering or feel awkward about where to place your hands. It’s natural to feel “huge” or fear that your photos will look too staged. Finding the right maternity photoshoot poses should be a celebration of your body’s strength rather than a source of stress.
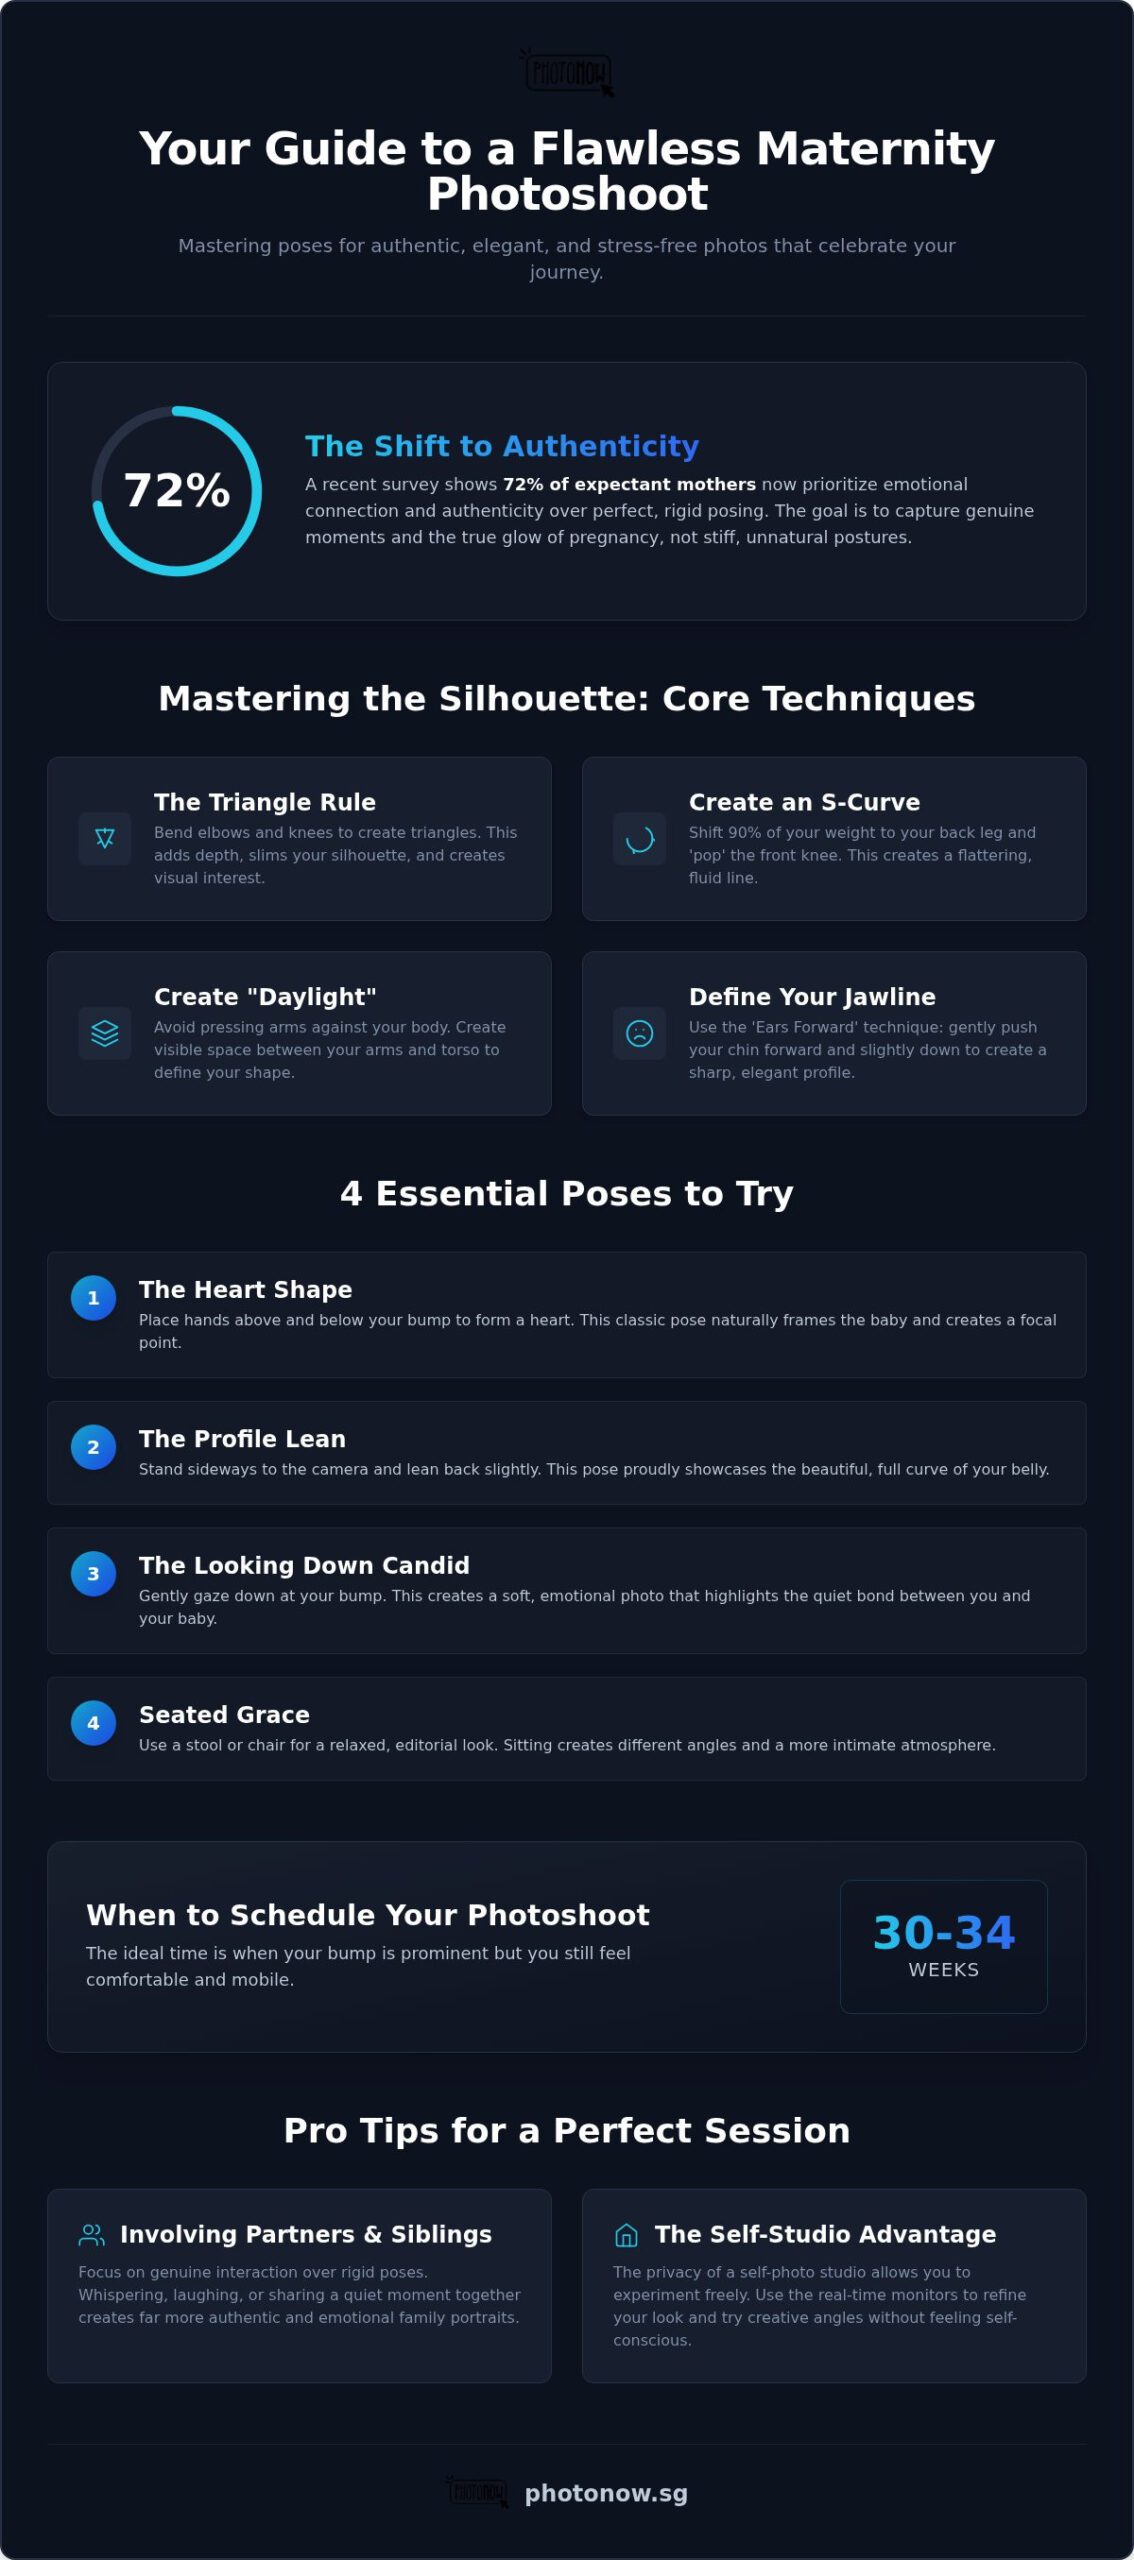
We understand that 72% of maternity clients in 2025 prioritized emotional connection and authenticity over perfect, rigid posing. This guide provides professional techniques designed to highlight your natural glow and create timeless memories in a private studio setting. You’ll learn how to achieve flattering, elegant results through a stress-free experience. We’ll preview fifteen practical poses you can do yourself; ensuring you feel confident and beautiful during your 2026 session. Whether you’re visiting a studio in Orchard or practicing at home, these methods focus on comfort and genuine emotion.
Key Takeaways
- Master the “Triangle Rule” to create visual depth and slim your silhouette by strategically bending elbows and knees.
- Learn five essential maternity photoshoot poses, including the “Heart Shape” and “Profile Lean,” to naturally frame your baby bump.
- Prioritize genuine interaction over rigid posing when including partners or siblings to capture more authentic family connections.
- Use the privacy of a self-photo studio to experiment with creative angles and refine your look using real-time monitors.
- Schedule your photoshoot between 30 and 34 weeks of pregnancy to ensure your bump is prominent while you still feel mobile.
Mastering the Silhouette: Creating Angles and Depth
Your body is a stunning three-dimensional masterpiece, but a camera lens naturally flattens everything it sees. To look your best, you must consciously create depth and shape through intentional movement. Mastering specific maternity photoshoot poses during your maternity photoshoot is about understanding how to use your limbs to build a flattering silhouette. One of the most effective methods is the ‘Triangle Rule’. By simply bending your elbows and knees, you create visual triangles that break up flat lines and slim your overall appearance. This technique adds dynamic energy to a still image; it prevents you from looking like a static object and instead highlights your natural curves.
Avoid the ‘block’ look by ensuring there is ‘daylight’ or visible space between your arms and your torso. When arms are pressed against your sides, they blend into your body, making your silhouette appear wider than it actually is. Gently resting your hands on your bump while keeping your elbows out creates a more defined, elegant shape. This creates a clear distinction between your torso and your limbs. Regarding foreshortening, always keep your limbs at an angle to the camera rather than pointing them directly at the lens, as this prevents your arms or legs from looking unnaturally short or distorted in the final image.
Utilizing these angles provides several benefits for your session:
- Visual Interest: Triangles lead the viewer’s eye around the photo, creating a more engaging composition.
- Slimming Effect: Creating space between the body and limbs prevents a bulky, rectangular appearance.
- Natural Flow: Bending joints mimics the way we move in real life, making the pose feel less forced.
- Bump Emphasis: Strategic hand placement within these triangles frames your baby bump as the central focus.
The ‘Ears Forward’ Technique for a Sharp Jawline
Defining your jawline is a core principle in portrait photography. To achieve this, try the ‘Ears Forward’ or ‘Turtle’ move. Subtly push your chin out and slightly down. This action extends the neck and eliminates the appearance of a double chin, creating a sharp, high-fashion look. You can also tilt your head slightly to one side. This gentle movement softens the overall image and adds a tender, maternal feel to your photos, making the final result feel intimate and warm.
Weight Distribution and the S-Curve
Standing flat-footed often results in a stiff, rectangular posture that feels uninspired. These maternity photoshoot poses rely on weight shifting to look natural. Focus on creating an S-curve by shifting 90% of your weight to your back leg. This naturally shifts your hips and creates a more fluid, feminine line. Always ‘pop’ the knee closest to the camera by bending it slightly and resting on the ball of your foot. Finally, follow the 45-degree rule. Almost never stand square to the camera lens. Angling your body away from the lens highlights the beautiful curve of your bump while maintaining a slim profile for the rest of your frame.
5 Essential Maternity Poses Every Mum-to-Be Should Know
Building on the foundation of angles and depth, let’s explore the specific maternity photoshoot poses that consistently deliver elegant results. These foundational positions are designed to be intuitive, ensuring you feel comfortable while highlighting your journey. The ‘Heart Shape’ is perhaps the most beloved, involving placing your hands above and below the bump to create a natural frame for your baby. It’s a simple yet powerful way to draw the viewer’s eye exactly where it should be. For those wanting to emphasize their silhouette, the ‘Profile Lean’ is indispensable. By standing sideways and leaning slightly back, you showcase the full, beautiful curve of your belly in a way that feels both proud and graceful.
Connection is often best captured when you aren’t looking at the camera. The ‘Looking Down’ candid is a soft, emotional pose that shifts the focus inward, highlighting the quiet bond between mother and child. It feels organic and less like a formal shoot and more like a private moment. To add variety to your gallery, consider ‘Seated Grace’. Using a stool or chair creates different visual levels; it offers a relaxed atmosphere that can feel more like a high-end editorial session. If you’re looking for a comfortable space to practice these, a private maternity session at PhotoNow provides the perfect environment to find what works best for you.
Mastering ‘Soft Hands’
One of the most common mistakes in maternity photography is ‘clutching’ the bump. When your fingers are tense or pressed too firmly, it can look like you’re holding on for dear life rather than cradling your baby. The ‘Soft Hand’ principle involves relaxing your fingers and gently resting them on your belly. Think of your hands as feathers; they should barely touch the fabric of your dress. If you find your hands feel awkward, give them a ‘job’ by lightly holding a piece of your clothing or a small prop like a pair of baby shoes. This redirect helps your muscles relax naturally.
Dynamic Movement: The ‘Walk and Turn’
Static poses can sometimes feel a bit rigid. To bring life to your images, incorporate micro-movements like the ‘Gentle Sway’. Instead of holding a pose for minutes, try slowly shifting your weight from side to side. The ‘Walk and Turn’ is another effective technique; simply take a slow step forward and gently look over your shoulder. These small actions create more natural expressions and prevent that frozen look. Syncing your shutter clicks with a deep breath also ensures your facial muscles and shoulders remain relaxed throughout the session.
Connection and Love: Posing with Partners and Siblings
Capturing the anticipation of a growing family requires a shift from solo silhouettes to shared intimacy. The ‘Protective Hug’ is a classic choice; your partner stands behind you, gently placing their hands over yours to frame the bump. This creates a literal circle of love that looks incredibly polished on camera. When coordinating these maternity photoshoot poses, prioritize interaction over rigid positioning. Looking at each other rather than the lens often results in more authentic family portraits that feel warm and lived-in.
Avoid the ‘police lineup’ look by staggering your heights. If your partner is significantly taller, having one person sit on a stool while the other stands creates a more sophisticated diagonal composition. This adds a layer of visual depth that flat standing positions often lack. For those choosing to wear a traditional Hanbok, ensure you stand at a slight angle to highlight the garment’s elegant flow from the high waistline, allowing the fabric to drape gracefully over the bump without losing your shape.
Involving Older Siblings Naturally
Older children often feel a mix of curiosity and shyness during a session. Encourage them to interact directly with the bump by kissing it or whispering a ‘secret’ to their future sibling. The ‘Sitting on the Floor’ pose is particularly effective here; it brings everyone down to the child’s level and creates a grounded, cozy atmosphere. It’s best to keep the energy high and the pace fast to capture those fleeting, genuine smiles before they lose interest. These candid heart-warmers often become the most cherished photos in the collection.
The ‘Couple Silhouette’
For a more dramatic aesthetic, the ‘Couple Silhouette’ uses backlighting to outline your profiles against a bright background. Hand-holding or forehead-to-forehead positions create an intimate, quiet feel that captures the gravity of this life transition. We often adapt romantic techniques from our pre-wedding shoot sessions to ensure these shots feel sophisticated and timeless. This approach focuses entirely on the connection between the two of you, making the bump the focal point of your shared future without the need for complex props.
Embracing Self-Photo Studios for a Unique Session
The rise of the self-photo studio has fundamentally changed how expectant mothers approach their portraits. In a traditional setting, you might feel the weight of a photographer’s gaze, which can lead to stiff shoulders or forced smiles. By taking control of the shutter yourself, you gain the freedom to experiment with complex maternity photoshoot poses without feeling judged. This private environment encourages a unique ‘Check and Adjust’ rhythm. You click the remote, glance at the real-time monitor to see how your angle looks, and then refine your posture for the next shot. It’s a methodical way to ensure every image meets your personal standards.
Using the live monitor acts like a real-time mirror. You can instantly fix a stray hair or adjust the way your dress drapes over your bump. However, a critical tip for a ‘connected’ final portrait is to remember to look directly at the camera lens, not the screen, when you actually press the button. Looking at the screen can make you appear distracted in the final photo. Focusing on the lens creates that soulful, direct eye contact that makes a portrait truly resonate. This simple adjustment transforms a casual snap into a professional-grade memory.
Remote Handling Hacks
Managing a remote while trying to look graceful might seem tricky at first. You can easily hide the shutter in the palm of your hand or tuck it behind your bump to keep it out of frame. For a more modern, Gen-Z aesthetic, some mums choose to keep the remote visible, leaning into the ‘self-taken’ vibe for a contemporary maternity photoshoot. If you want a completely hands-free look, use the 2-second timer. This gives you enough time to click and then drop your hand naturally into a soft pose before the camera captures the moment. It ensures your limbs look relaxed and intentional.
Privacy and Body Confidence
The absence of a professional photographer often leads to a significant boost in body confidence. Without an audience, you might feel more comfortable trying ‘Belly-Out’ poses that showcase your skin and the raw beauty of pregnancy. These intimate shots often feel too vulnerable in a standard studio but become possible in a private space. You have the total freedom to take as many ‘bad’ photos as you want. There’s no limit to how many times you can reset, allowing you to relax until you find that one perfect, effortless shot. If you’re ready to experience this level of comfort, you can book your private session at PhotoNow today.
Preparing for Perfection: Your Maternity Shoot at PhotoNow
Timing is everything when you’re planning a milestone session. Most experts recommend scheduling your shoot between 30 and 34 weeks of pregnancy. This window is ideal because your baby bump is beautifully prominent, yet you likely still feel mobile enough to try various maternity photoshoot poses comfortably. If you wait much longer, you might find that fatigue sets in more quickly. Our studio at The Centrepoint, Orchard, is designed with this comfort in mind. The high-end lighting is pre-set to flatter every curve, ensuring you look radiant from the very first click. Since we’re located in the heart of the city, it’s easy to fit a quick ‘refresh’ into your day before stepping into your private session.
Success in a self-photo setting comes from a small amount of preparation. We suggest creating a ‘Posing Playlist’ by saving 3 to 5 ‘must-have’ poses on your phone. Having these references ready prevents that ‘blank mind’ feeling once the session begins. You can focus on the technical tips we’ve discussed, like the Triangle Rule and the S-Curve, while having a visual guide to keep you on track. This organized approach ensures your maternity photoshoot poses feel deliberate and high-quality, allowing you to maximize your time in the studio.
Wardrobe and Props
Your outfit choice significantly impacts the final aesthetic of your portraits. Form-fitting bodycon dresses are excellent for highlighting the sharp, clean silhouette of your bump. On the other hand, flowing fabrics create a soft, ethereal look that adds a sense of whimsy to the session. You can use our studio’s stools and backdrops to add variety to your gallery; stools are perfect for creating the ‘Seated Grace’ pose mentioned in earlier sections. For a deeper dive into preparation, check out our guide on what to wear for your photoshoot to ensure your wardrobe complements our professional lighting setup.
Ready to Capture the Glow?
The core of a successful shoot is the ‘Movement over Stasis’ philosophy. Don’t worry if the first five minutes feel a bit awkward; it’s a normal part of the process for almost every mother-to-be. Once you find your rhythm and start experimenting with different angles using the remote, the poses will feel much more natural. Embrace the privacy of the space and let your personality shine through. If you’re ready to create timeless memories in a stress-free environment, book your Maternity photoshoot at PhotoNow today and try these techniques for yourself.
Capture Your Journey with Confidence and Grace
Your path to motherhood is a singular story that deserves to be preserved with both elegance and authenticity. By mastering these maternity photoshoot poses and embracing the privacy of a self-directed environment, you can transform a typical session into a truly meaningful experience. The most striking portraits often come from a blend of intentional angles and genuine, relaxed movement. Whether you’re practicing the Triangle Rule or sharing a quiet moment with your partner, the focus remains on celebrating your strength and the life you’re nurturing.
Ready to put these techniques into practice? At our private studio in Orchard Road, we provide the ideal setting for you to shine without the pressure of an audience. You’ll use our real-time monitors to refine your posing instantly and walk away with professional-grade digital copies of your favorite memories. It’s a seamless and high-quality way to document this milestone on your own terms. Book Your Private Maternity Self-Photo Session at PhotoNow Today and prepare to see your glow captured perfectly. We can’t wait to help you create something timeless.
Frequently Asked Questions
How can I look more natural and less stiff in my maternity photos?
Focus on movement rather than holding a static posture. Incorporate micro-movements like a gentle sway or a slow step forward to prevent a “frozen” look. These small actions create authentic expressions and help you relax. Research from 2025 shows that 72% of maternity clients prioritize this emotional connection over perfect, rigid posing. Simply syncing your breath with the shutter can also help your shoulders drop naturally.
What is the best week to do a maternity photoshoot?
The ideal time is typically between 28 and 34 weeks of pregnancy. During this window, your baby bump is well-defined and prominent, yet you’re likely still mobile enough to try various maternity photoshoot poses comfortably. Scheduling earlier might mean the bump is less visible, while waiting until after 35 weeks can sometimes lead to increased fatigue or physical discomfort during the studio session.
How do I hide the remote control during a self-photo session?
You can easily conceal the remote by tucking it into the palm of your hand or hiding it behind your bump. Another effective method is to use the camera’s 2-second timer. This allows you to click the button and then drop your hand into a natural position before the photo is taken. Some mothers also choose to hide it within the folds of their clothing or a prop.
Should I look at the camera lens or the monitor while posing?
Always look directly at the camera lens when you press the shutter button for a connected final portrait. While the real-time monitor is excellent for checking your angles or fixing your hair, looking at it during the actual photo can make you appear distracted. Looking at the lens creates soulful eye contact that makes your portraits feel more intimate and professional than looking at a screen.
Where should I put my hands when posing with my baby bump?
Place your hands in a way that frames the bump without clutching it too tightly. A classic technique involves the “Heart Shape,” where one hand is placed above the belly and the other below. Keep your fingers relaxed to maintain “soft hands.” You can also rest one hand on your hip and the other on the bump to create flattering angles in your maternity photoshoot poses.
How do I avoid a double chin in my maternity portraits?
Use the “Ears Forward” technique by pushing your chin slightly out and down toward the lens. This subtle movement extends the neck and sharpens the jawline, eliminating shadows that create a double chin. Additionally, tilting your head slightly to one side can soften your features and create a more maternal, tender look. This approach works perfectly with professional studio lighting to ensure a polished result.
Can I bring my partner and kids to a self-photo maternity session?
Yes, involving your partner and children is a wonderful way to capture the family’s collective anticipation. Our private studio environment at Orchard is perfect for kids because it feels less intimidating than a traditional shoot. You can focus on candid interactions, such as having siblings kiss the bump, which often results in more authentic and heartfelt images than forced, traditional posing in front of a stranger.
What should I wear to best highlight my pregnancy bump?
Form-fitting garments like bodycon dresses are the best choice for clearly defining the silhouette of your bump. If you prefer a softer aesthetic, flowing fabrics or maxi dresses can create a whimsical, ethereal feel. Neutral or earth-toned color palettes are currently trending for their timeless appeal. Bringing a few options to our Singapore studio allows you to experiment with different looks and textures during your private session.
Recent Comments