
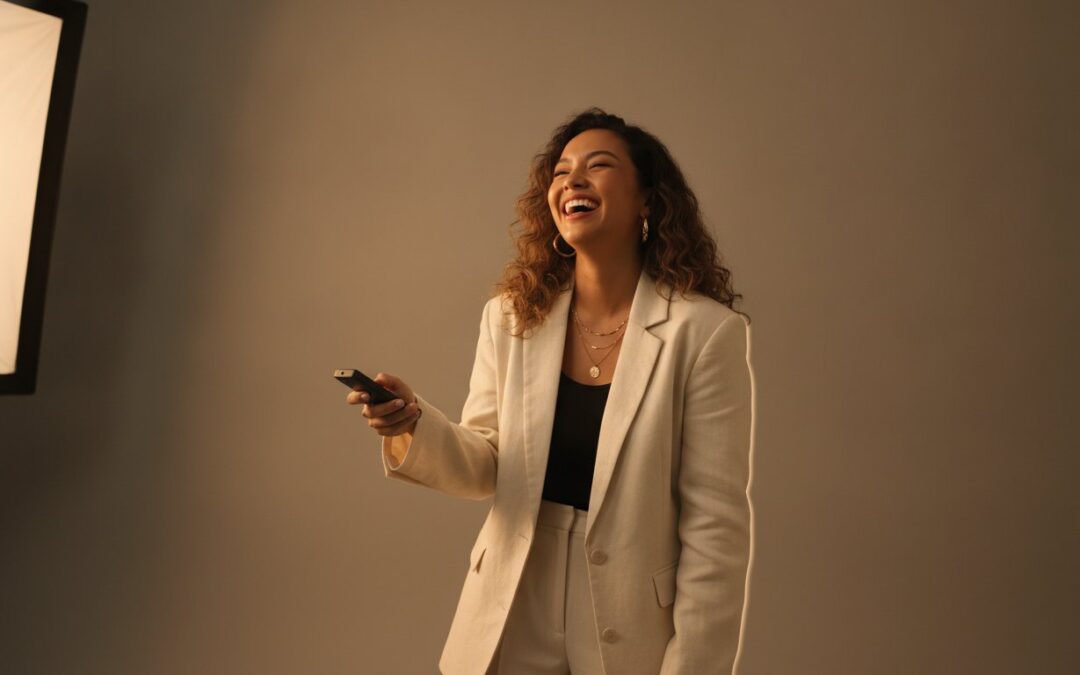
The small plastic remote in your hand isn’t a prop you need to hide. It’s actually the secret to the most authentic portrait you’ve ever taken. It’s common to feel a sudden wave of “remote anxiety” the moment you step into a private booth. You might worry about looking stiff or wonder where to tuck your hands to avoid an awkward silhouette. If you’ve ever feared a double chin or an unflattering angle while trying to time your own shot, you aren’t alone. Mastering a few essential posing tips for photoshoot sessions will turn that hesitation into genuine, polished confidence.
We understand that looking natural while managing your own shutter can feel like a balancing act. You want photos that capture your true personality, whether you’re celebrating a graduation or gathering the whole family at PhotoNow’s Orchard Road studio. This article promises to reveal professional secrets for handling the remote and positioning your body to ensure every frame is a keeper. We’ll explore the best ways to create visual harmony in group shots, how to manage graduation gowns, and why a private environment is the best place to get “braver” with your poses.
Key Takeaways
- Understand how a private studio environment removes performance anxiety, allowing for more authentic expressions and “braver” posing choices.
- Master the “Ears Forward” technique and proper weight distribution to define your jawline and create a slimmer, more flattering profile.
- Learn practical posing tips for photoshoot sessions that involve hiding the remote trigger or integrating it as a deliberate part of your aesthetic.
- Discover specific strategies for managing graduation gowns and Hanbok rentals to ensure your milestone photos look polished and professional.
- Benefit from a professional lighting setup at PhotoNow’s Orchard Road location that delivers high-quality results without the need for technical expertise.
The Psychology of Self-Posing: Why Privacy Changes Everything
Stepping into a studio often triggers a specific type of performance anxiety. When a professional photographer is present, your brain tends to focus on following external instructions and looking “correct” rather than feeling comfortable. Removing that observer changes the dynamic entirely. You’re no longer performing for a stranger; you’re interacting with yourself. This fundamental shift is the secret to why self-photo sessions produce more authentic smiles and relaxed postures. Integrating these posing tips for photoshoot sessions helps you move past the initial stiffness and embrace the creative process.
Utilizing the live-view monitor creates a “mirror effect” that provides immediate visual feedback. Unlike traditional shoots where you must wait for the photographer to show you the back of the camera, you can see your angles in real time. This is where foundational posing techniques become intuitive rather than academic. You can see exactly how a slight tilt of the chin or a shift in weight affects the frame, turning the technical process of taking a photo into a creative act of making a lasting memory. At PhotoNow’s private studio at The Centrepoint, we provide the ideal “safe space” where beginners can experiment without judgment.
Overcoming the Initial 5-Minute Awkwardness
The first few clicks of the remote are usually the most self-conscious. Treat these as “throwaway” shots; they aren’t meant for the final gallery but for calibrating your comfort with the flash and trigger. Use the live-view monitor as a digital mirror to see how the lighting interacts with your outfit and where the boundaries of the frame lie. This initial warm-up period is an essential phase where you shed your “camera face” and settle into a natural rhythm. Once you realize no one is watching, your movements will naturally become more fluid and expressive.
The Power of the Private Environment
Privacy is the ultimate tool for “braver” posing. In a standard studio, you might feel too shy to try a high-fashion stance or a silly expression, but in our private booths, those inhibitions disappear. This environment is particularly beneficial for young children who might be intimidated by strangers, or for large family groups trying to coordinate a fun, high-energy shot. Our self-photo studio Singapore location is designed to ensure you feel like the director of your own session. Because the professional lighting setup handles the technical heavy lifting, you can focus entirely on your posing tips for photoshoot success while enjoying a stress-free experience.
Foundational Posing Techniques for a Flattering Silhouette
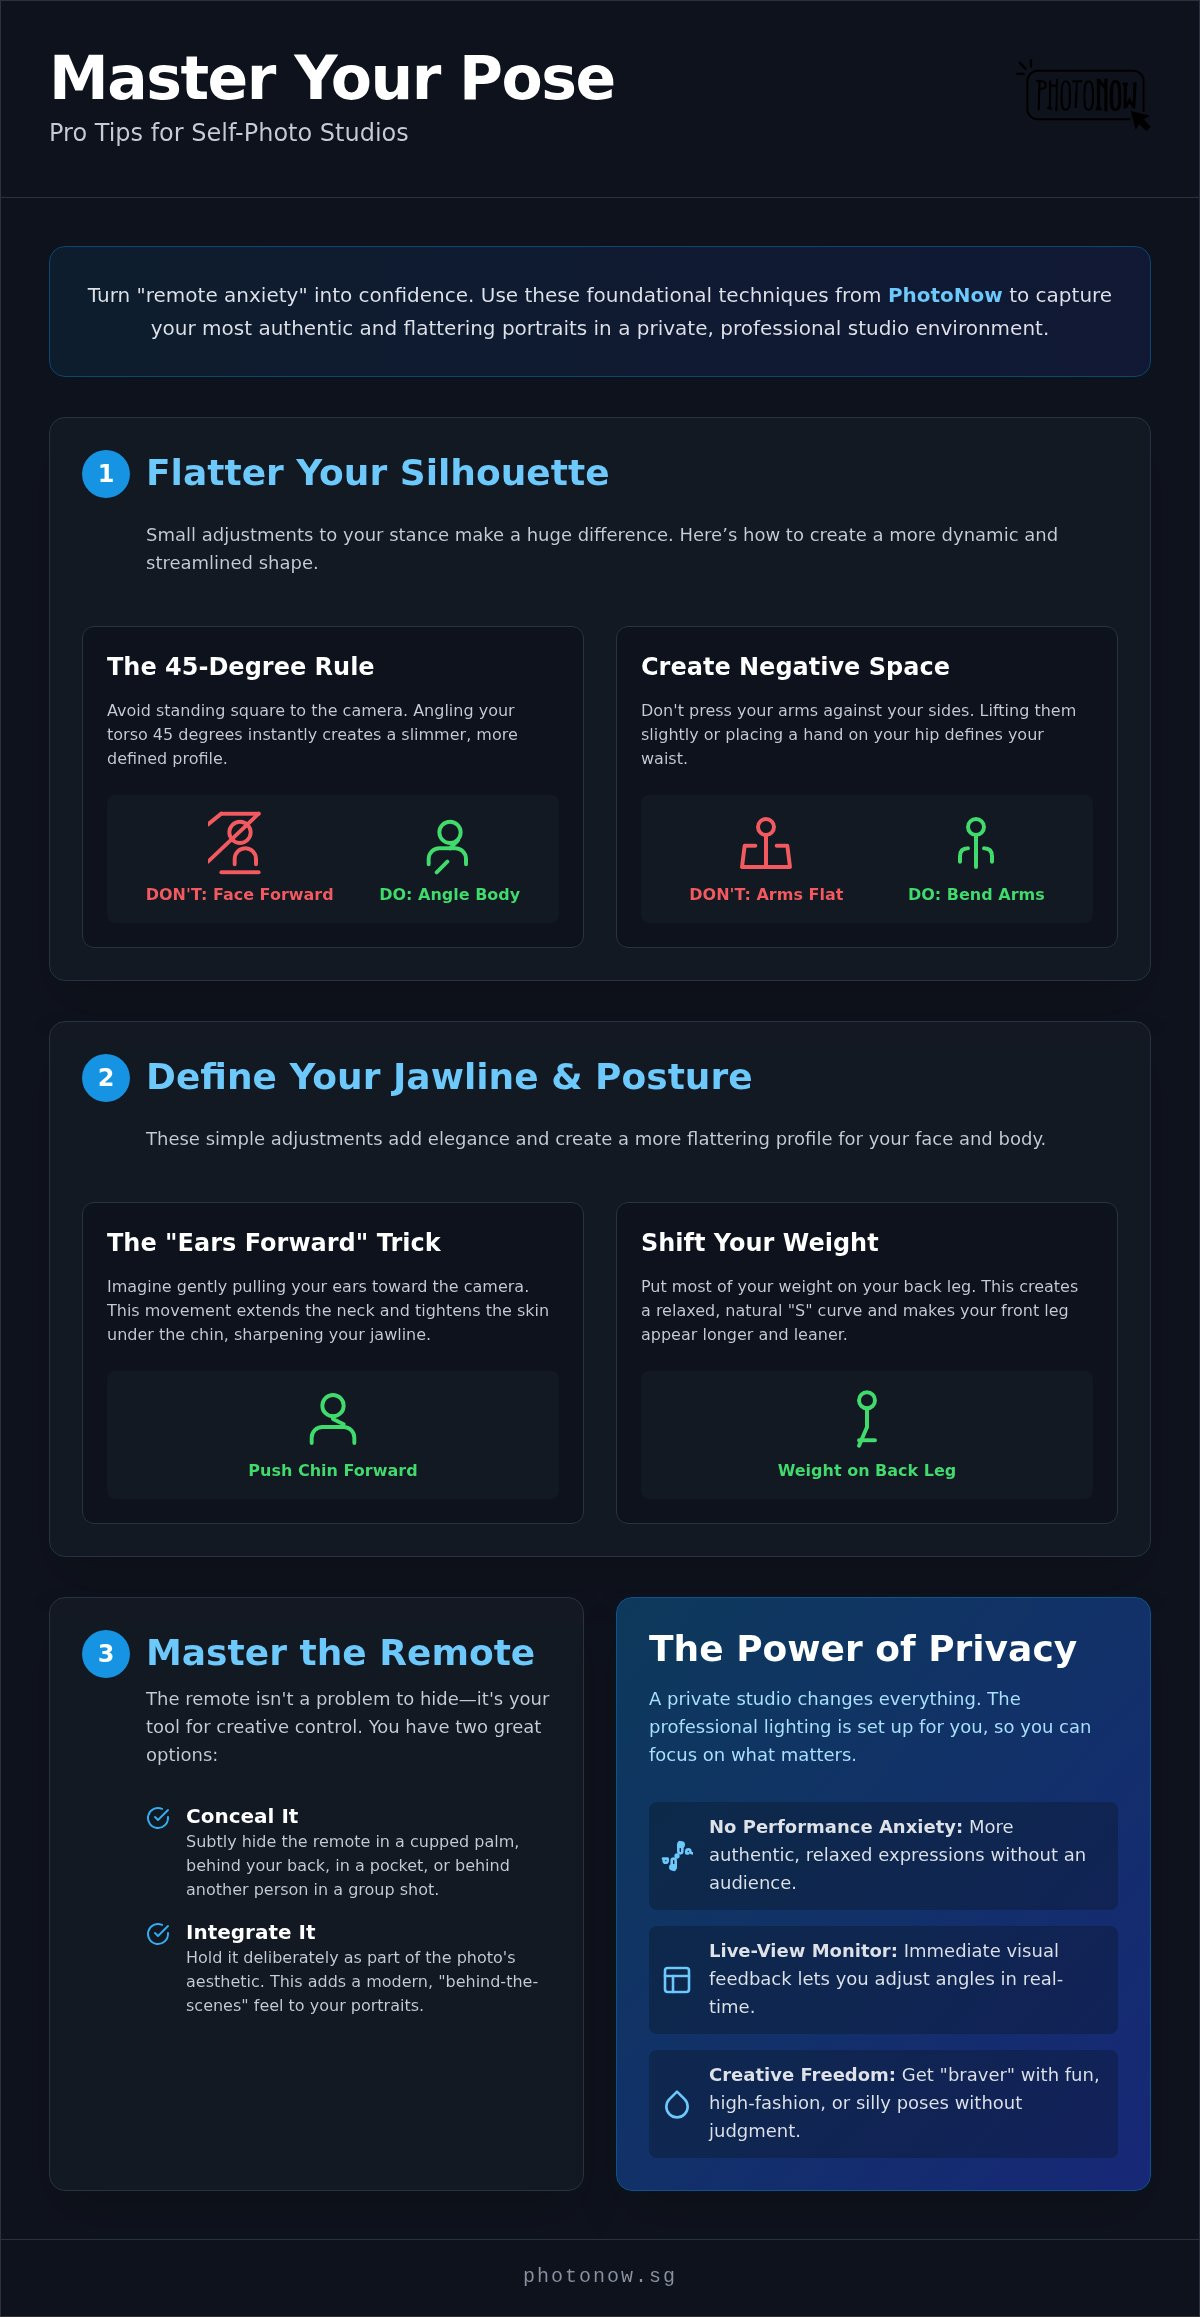
Achieving a flattering silhouette starts with understanding how the camera lens perceives depth. When you stand directly square to the camera, you present your widest profile, which often feels bulky. Instead, adopt the 45-degree rule. By angling your torso slightly away from the lens, you instantly create a more streamlined shape. This is one of the most effective posing tips for photoshoot success because it adds dimension to your shoulders and waist. To further refine this look, ensure there is visible “negative space” between your arms and your torso. Pressing your arms flat against your sides creates a single, wider block of color; simply placing a hand on your hip or slightly lifting your elbows creates a gap that defines your natural waistline.
Your jawline also requires a specific adjustment to look its best. Try the “Ears Forward” trick: imagine pulling your ears toward the camera. This movement extends the neck and tightens the skin under the chin, eliminating the risk of a double chin. Combine this with proper weight distribution by shifting your weight onto your back leg. This slight lean away from the camera makes your front leg appear longer and your overall profile more elegant. For more inspiration on how these small shifts transform a portrait, you can explore professional posing tips for pictures that work across various photography styles.
Mastering Facial Expressions Without a Director
Without a photographer to tell you when to smile, you have to manage your own micro-expressions. Try the “squinch”, a slight tightening of the lower eyelids, to convey confidence rather than a wide-eyed, startled look. For a natural smile that doesn’t feel forced or show too much gum, press your tongue against the back of your upper teeth. These posing tips for photoshoot sessions work best when you use the look-away technique. Look down or to the side, then glance back toward the lens just as you press the trigger for a fresh, spontaneous expression.
Posturing for Height and Elegance
Good posture is the foundation of any great photo. Visualize an “invisible string” pulling the crown of your head toward the ceiling to ensure perfect spinal alignment. This technique is particularly useful for our corporate headshot Singapore sessions, where a sense of authority and poise are key. For seated shots, avoid flat feet. Use a “soft cross” at the ankles or a “T-pose” with one foot tucked behind the other to elongate your legs. These subtle adjustments ensure you look poised and professional. If you’re ready to put these techniques into practice, consider booking a session at PhotoNow to see the difference for yourself.
Solving the “Hand Problem” with the Remote Trigger
The most common question in a self-photo studio isn’t about lighting or angles; it’s what to do with the hand holding the trigger. In traditional photography, both hands are free to frame the face or rest on the hips. In a self-session, one hand is occupied. Mastering the ergonomics of the remote is what separates a DIY snapshot from a professional-grade portrait. To achieve a polished look, you need to move beyond foundational posing techniques and learn how to navigate the hardware itself.
One of the most effective posing tips for photoshoot sessions is the “Timer Hack.” By setting a 2-second delay on the shutter, you gain a vital window to press the button and then drop the remote out of the frame or hide it behind your back. This ensures your final image looks like it was captured by a third party, giving you the best of both worlds: the privacy of a self-session and the aesthetic of a professional shoot. If you don’t use the timer, the “free hand” becomes your primary tool for balance. Use it to lightly touch your hair, rest on a prop, or slide into a pocket to avoid the awkward “dangling arm” look.
Hiding the Remote Trigger
If you prefer the remote to stay completely invisible, the “Hide and Seek” method is your best approach. Grip the remote firmly within your palm, using your thumb to trigger the button while keeping your fingers curled naturally. This prevents the “claw” look that often happens when someone is over-focusing on the tech. You can also tuck the remote into a pocket or hide it behind your back leg if you’re standing at a 45-degree angle. For those utilizing our Hanbok rental for photoshoot, the voluminous folds of the traditional skirt or the wide sleeves of the Jeogori provide perfect natural cover for concealing the device.
Using the Remote as a Prop
Sometimes, the best way to handle the remote is to embrace it. The “Direct Click” pose involves pointing the remote toward the camera, creating a modern, meta-style shot that highlights the fun of the self-photo experience. This works exceptionally well for social media content or graduation sessions where you want a playful, “behind-the-scenes” vibe. Capturing the exact moment of the click can lead to candid, high-energy expressions that feel more authentic than a static pose. When shooting in groups, try a coordinated click where everyone points toward the lens or mimics the action, turning the remote from a challenge into a central part of your posing tips for photoshoot repertoire.
Posing for Singapore Milestones: Graduation, Family, and Hanbok
Milestone photography in Singapore often involves specific attire and cultural traditions that require specialized posing tips for photoshoot success. Whether you’re celebrating a degree or capturing a multi-generational family gathering, the goal is to balance tradition with modern aesthetics. Unlike basic portraits, milestone sessions require you to manage props like scrolls or voluminous garments while still maintaining the flattering silhouette techniques discussed in previous sections. The key is to work with your clothing rather than fighting against it.
For maternity sessions, hand placement is the most effective way to define the silhouette. Placing one hand above the bump and the other gently below creates a frame that emphasizes your shape without looking stiff or forced. In large family groups, avoid standing in a single, flat line. Use “the triangle” composition by layering heights; have some members sit on stools, others stand, and some lean slightly toward the center. This creates a dynamic, visually interesting flow that draws the eye across the entire family naturally.
The Graduation Portrait Masterclass
Managing a graduation gown is a unique challenge because the heavy fabric can easily create a “tent” effect. To maintain your shape, keep your posture upright and use your arms to create negative space away from the body. When holding your mortarboard, try the “under-arm” tuck for a sophisticated, classic look, or hold it lightly by the corner if you’re planning a “toss” shot. Ensure your degree scroll is angled toward the camera but held low enough that it doesn’t block your face or the sash details. If you’re preparing for commencement, our Graduation Photography Package provides the perfect setting to document your success.
Elegant Hanbok Posing Tips
Traditional Korean attire is defined by its graceful volume and intricate details. To highlight the “Chima” (skirt), stand with your weight slightly forward or try a “Korean Sit” where the skirt fans out symmetrically around you on the floor or a chair. Keep your hands folded gently at the waist in a traditional gesture to respect cultural etiquette and showcase the “Jeogori” (top) embroidery. These posing tips for photoshoot sessions ensure you look both authentic and elegant in every frame. You can explore various styles through our Hanbok Rental for photoshoot service before your session begins.
Coordinating Family Group Poses
The most cherished family photos often capture genuine interaction rather than static smiles. Trigger a “candid laugh” by having family members look at each other rather than the lens, or share a quick joke right before clicking the remote. Managing different heights is crucial for three-generation portraits; placing grandparents in the center while seated and arranging children and parents around them creates a sense of unity and balance. For a seamless experience that captures every generation, consider a Family Portrait Package at PhotoNow to celebrate your next reunion.
The PhotoNow Experience: Effortless Professionalism in Singapore
Choosing a studio that handles the technical complexities allows you to focus entirely on your presence in front of the lens. At PhotoNow, our professional studio setup at The Centrepoint does the heavy lifting for you. We’ve calibrated our high-end equipment and professional lighting to ensure that every angle is flattering, regardless of your experience level. This environment is designed to complement the posing tips for photoshoot success we’ve discussed, meaning you don’t need to be a photography expert to achieve a premium result. The lighting is consistent and soft, which minimizes shadows and highlights your best features automatically.
Privacy is the cornerstone of our experience, making it the premier choice for sensitive milestones. For a maternity photoshoot or a pre wedding photo shoot, the absence of a photographer allows couples and expectant mothers to express intimacy and joy without feeling observed. This seclusion encourages you to be “braver” with your poses, leading to more authentic and emotive captures. Our workflow is designed to be completely no-fuss. From the moment you arrive at our Orchard Road location to the point you receive your high-resolution digital files, the process is seamless and efficient.
Tailored Packages for Every Need
We offer a variety of options to suit different goals and group sizes. Our Basic Self-Photo Package is ideal for quick updates or fun sessions with friends, while the Corporate Headshot Package provides a more polished look for professional branding. For those looking to add a unique cultural flair, we offer a Hanbok rental for photoshoot sessions, allowing you to blend traditional elegance with our modern studio tech. You can explore our full range of services and specialized packages to find the best fit for your next session.
Booking Your Session at The Centrepoint
Our studio is conveniently located on Orchard Road, making it an easy stop for residents and tourists alike. To maximize your studio time, we recommend arriving ten minutes early to settle in and review your posing tips for photoshoot goals. Bringing along personal props or coordinating your outfits beforehand ensures you can move through your session with confidence. Whether you’re celebrating a graduation or a family reunion, our space is ready to help you capture high-quality memories in a stress-free environment. Book your private self-photo session at PhotoNow today and experience the ease of professional self-photography.
Ready to Capture Your Most Authentic Self
Mastering the art of the self-portrait is about more than just clicking a button; it’s about embracing the freedom that a private studio provides. By applying these posing tips for photoshoot success, you can move from feeling stiff to projecting genuine confidence. Whether you’re concealing the remote for a classic look or using it to capture a candid family moment, the control is entirely in your hands. You now have the tools to manage bulk in graduation gowns, highlight the grace of a Hanbok, and find your best angles through simple weight distribution.
At PhotoNow, we’ve designed a space that removes the technical barriers to high-quality photography. Our private, no-pressure studio environment at The Centrepoint on Orchard Road features professional-grade DSLR cameras and lighting setups that ensure you look your best from every angle. You don’t need to be a professional to achieve polished, milestone-worthy results. We invite you to step into our booth and discover how effortless a professional session can be. Book Your Private Session at PhotoNow Singapore today. We look forward to helping you create memories that reflect your best self.
Frequently Asked Questions
What is the best pose for a solo self-photo session?
The best pose for a solo session involves angling your body at 45 degrees to the camera and shifting your weight to your back leg. This creates a more dynamic silhouette compared to standing flat. You can also try a seated pose with your legs crossed at the ankles to elongate your profile. Experimenting with different heights and using the live-view monitor helps you find your most flattering side without any external pressure.
How do I hide the remote control in my photos?
You can hide the remote by tucking it into your palm and using your thumb to trigger the shutter, which keeps your fingers looking natural. Alternatively, use the 2-second timer delay to press the button and then quickly hide the remote behind your back or in a pocket. If you’re wearing a Hanbok or graduation gown, the voluminous fabric provides an excellent hiding spot for the device during your session.
What should I do with my hands if I am not holding the remote?
When your hand isn’t holding the remote, give it a specific task to avoid looking stiff. Try resting it on your hip, lightly touching your hair, or sliding it into a pocket. You could also hold a prop like a graduation scroll or a bouquet. Giving your hands something to do creates a more relaxed look, ensuring your posing tips for photoshoot results appear professional and effortless.
How can I look thinner in my self-studio photos?
To appear slimmer, avoid standing square to the camera; instead, turn your body slightly and shift your weight to the leg furthest from the lens. Ensure there’s visible negative space between your arms and your waist to define your silhouette. Pushing your chin slightly forward and down also helps define the jawline. These small adjustments work with our professional lighting to highlight your best features while minimizing bulk.
Are there specific poses for graduation photos in a studio?
Specific poses for graduation include holding your degree scroll diagonally across your body or tucking your mortarboard under one arm. Ensure your sash is visible and flat against your gown. You can also try a toss pose with your cap or a seated shot that shows the full length of the academic dress. These techniques are central to our Graduation Photography Package, designed to capture your success with poise and clarity.
How do I pose for a family photo with young children at a self-photo studio?
Posing with young children works best when you get down to their eye level or hold them close for a sense of connection. Use a triangle composition by having some family members sit while others stand, creating a visually balanced group. Because our studio is private, children often feel more relaxed, allowing you to capture genuine interactions. Focus on movement and laughter rather than forcing a perfectly still, traditional stance.
Can I bring props to my PhotoNow session to help with posing?
Yes, you’re welcome to bring personal props to your PhotoNow session to personalize your photos. Items like balloons, flowers, or even your own academic awards can help you feel more comfortable and provide natural points for hand placement. Using props is one of the most effective posing tips for photoshoot sessions because it adds a unique story to your portraits while helping you interact with the space more naturally.
What is the “45-degree rule” in portrait photography?
The 45-degree rule involves turning your torso slightly away from the camera rather than facing it directly. This technique adds depth and creates a more three-dimensional look in your portraits. It narrows the profile of your shoulders and waist, providing a more flattering and editorial aesthetic. This is a foundational concept in portrait photography that we encourage all our clients to use for both solo and group sessions.
Recent Comments